The below blog post will show you how to install make a Microsoft Windows Server a Terminal Server. This was done on a Microsoft Windows Server 2019 Datacenter.
A Terminal Server makes it possible for multiple users to access a Windows Server through Remote Desktop (also called RDP). A normal Windows Server installation is limited to two (2) multiple users.
First off you need to get Terminal Services installed on the Windows Server if this is not already installed.
1.
To do this you need to start Windows PowerShell as an administrator and execute the command below.
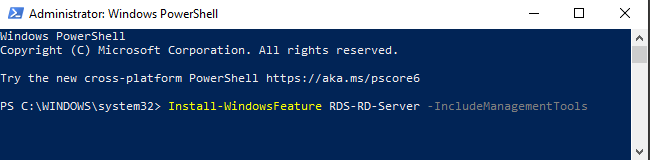
Command: Install-WindowsFeature RDS-RD-Server -IncludeManagementTools
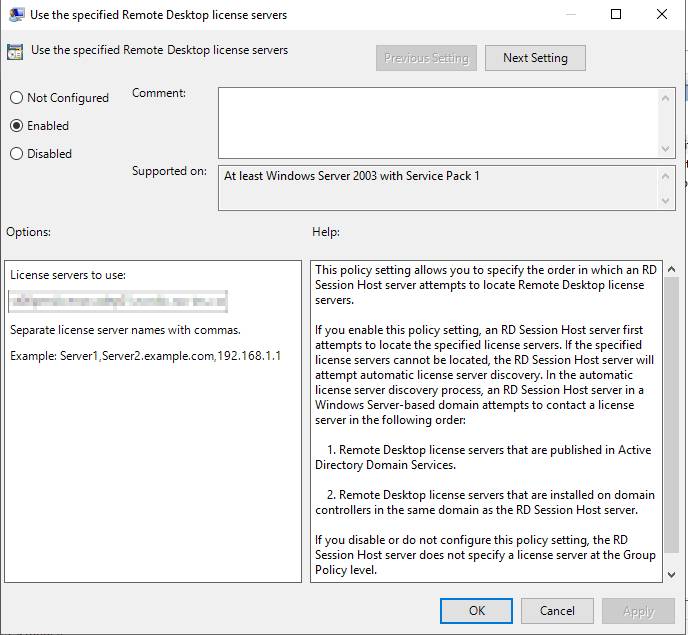
2.
Then you need to set the license server under in the Local Group Policy Editor. This is done from the Edit Group Policy located in the Control Panel.
Go to Computer Configuration\Administrative Templates\Windows Components\Remote Desktop Services\Remote Desktop Session Host\Licensing
And choose Use the specified Remote Desktop license servers to set the server.
![]()
Here you need to insert the license server provided.
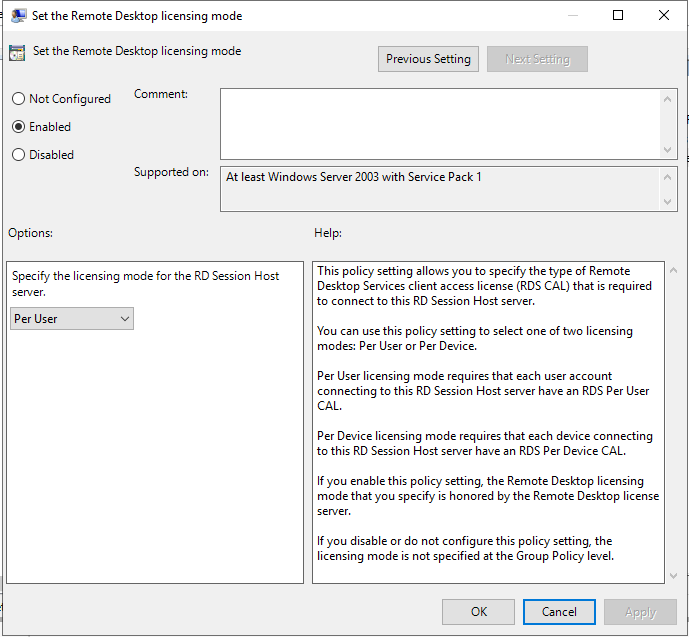
3.
Then you need to set the license mode under in the Local Group Policy Editor. This is done from the Edit Group Policy located in the Control Panel.
Go to Computer Configuration\Administrative Templates\Windows Components\Remote Desktop Services\Remote Desktop Session Host\Licensing
And choose Set the Remote Desktop licensing mode
![]()
Here you most likely want to choose Per User